Photo Impressionism Techniques and Macro Photography
Photo Impressionism Techniques:
They include multiple exposures, montages( also known as composites
or sandwiches), zooming and selective focus.
Multiple Exposures:
They may be set in several ways-
1. By doubling the number of images and speed of exposure
Example- a single exposure at F11 @1/60 second
2 exposures at F11 @1/125
4 exposures at F11 @1/250
8 exposures at F11 @1/500 second, and so forth
2. By multiplying the ISOof the film by the number of exposures:
Example- if taking 1 exposure using ISO 100 film at a certain exposure,
change the ISO to 200 for 2 exposures, to 400 ISO for 4 exposures and
to
800 ISO for 8 exposures
3. By taking the square root of the number of exposures:
Example- to take nine exposures, as the square root of nine is three,
set the camera's function button to minus three stops.
to take 16 exposures, as the square root of 16 is 4, set the
function button to minus 4 stops.
Practice handholding the camera (at first without any film in it). Try
to stay close to the center of the image, rotating or moving the camera
horizontally, vertically or diagonally. Don't worry about not holding
the camera still enough. Slight movement creates the impressionistic
effect. Also, try using
a tripod, moving the camera slightly between each exposure.
REMINDER: when returning to single exposure don't forget to reset the
camera from the multiple to the single exposure setting. Also, reset
the ISO or function button for single exposure. Not doing so results
in having underexposed, wasted film, and possibly a lost opportunity
to photograph an image.
Multiple Exposure Image Examples:
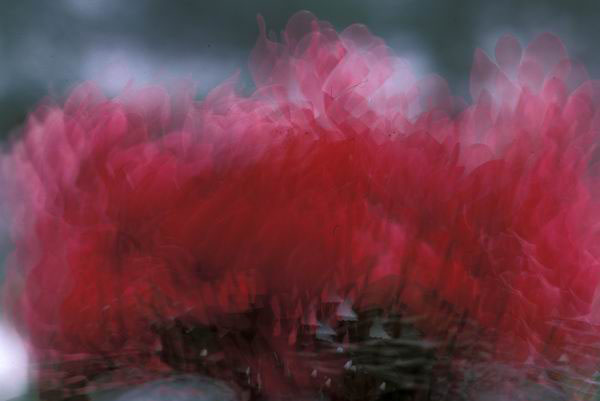
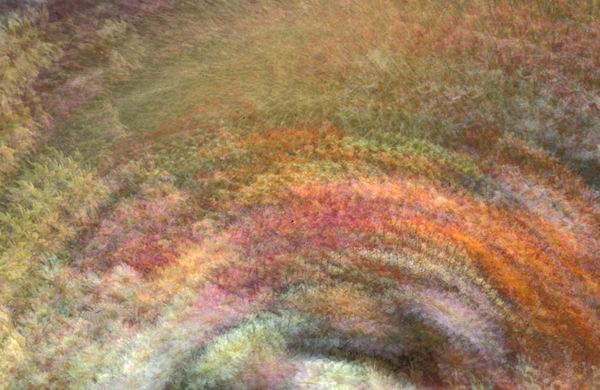
#1- 9 exposures of Cyclamens #2-
16 exposures of a field of Korean Mums, with tripod and ball head, turning
the camera in a semicircle slightly between each exposure,
creating a "tapestry effect".
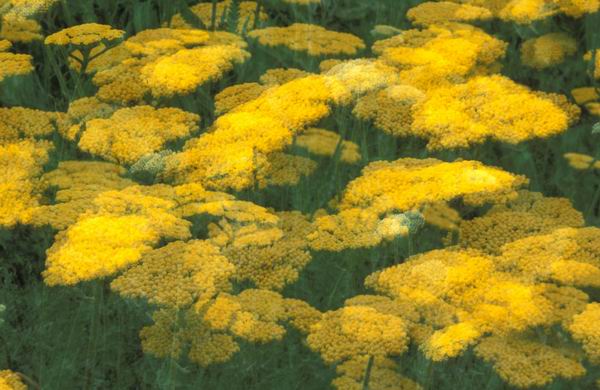
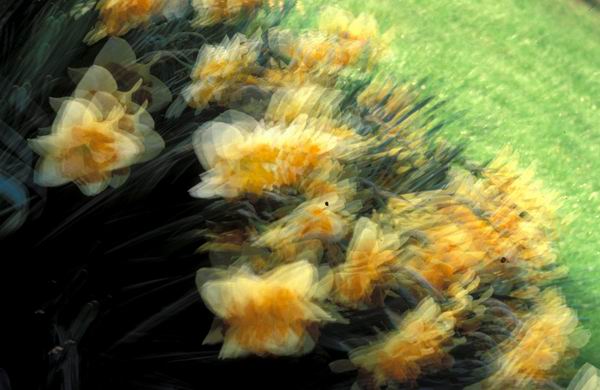
#3- 4 exposures of Yarrow #4 - 9 Exposures
Montages:
Montages consist of 2 or some say even 3 superimposed pieces of film.
They create an intense color saturation which makes the images glow.
They can be made of the same or 2 different images.
Using a longer focal length lens take the first exposure in focus, at
a small aperture, overexposing 2 full stops. Take the second slightly
out of focus and at the lens's widest aperture. You may have to reposition
your subject slightly as you change focal lengths to keep it in the
same location.
I mount the 2 pieces of film in a glassless Gepi Mount and have duplicates
made ASAP. This is to prevent dust from getting between the 2 pieces
of film. Also, pieces of film touching each other can be damaged by
heat when projected.
Save your over exposed slidesas they may be used in montages. Create
washes of color from overexposed flowers, skies,reflections etc.
Montage examples:
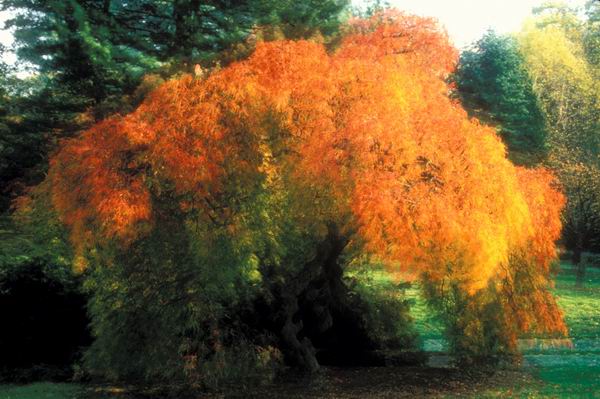
#5- Japanese Maple- One piece of film was positioned slightly to the
right of
the other creating linear patterns of the branches.
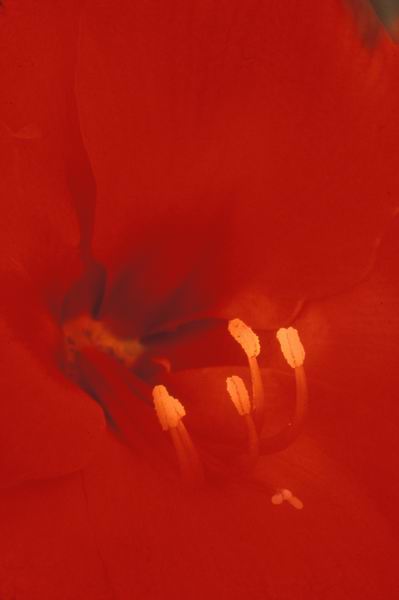
#6 Amaryllis - first image in focus, small aperture at +2.
Second image slightly out of focus, wide aperture
at +1.

#7- Yellow tulip montaged with the center of a chrysanthemum.
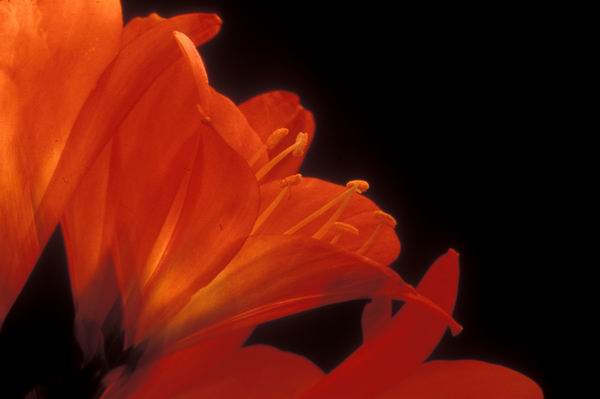
#8- Clivia- First image in focus , small aperture at +2.
Second image is a multiple exposure of the same Clivia.
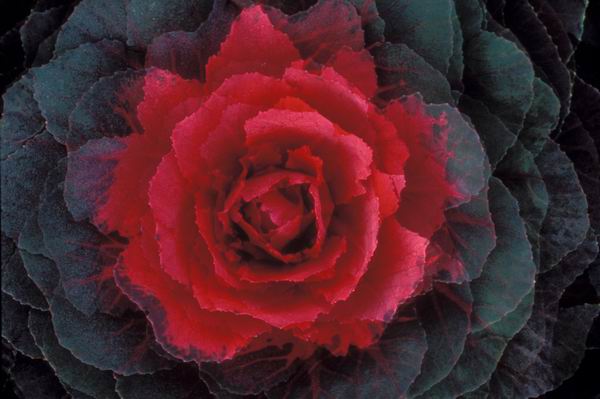
#9- Ornamental Cabbage- both images were in focus and slightly
overexposed to increase saturation.
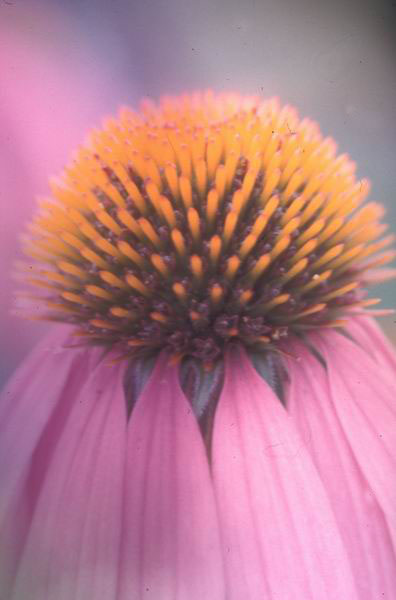
#10- Cone Flower- Was overexposed and montaged with a wash of lavender
color.
Zooming:
Zooming can be done with either single or multiple exposures. It is
best to begin with the lens set at a short focal length and zoom to
a longer focal length to keep unwanted material out of the picture.
Try moving the camera while zooming. Overexpose some images for possible
use in montages.

Zooming example #11 - Korean Mums- zoomed from 35mm to 135mm.
Selective focus:
This technique is created by keeping the subject in sharp focus and
other parts of the image out of focus and blurred. I use a macro lens
or a 75mm-300mm lens with extension tubes. Hand holding your camera,
with the lens at widest aperture, select you subject at some distance
away, positioning closer flowers around and almost touching the lens.
These out of focus flowers will create a wash of color around your subject.
Check the amount of out of focus color to be sure it is not interfering
with the subject too much. Try photographing hand holding and on tripod.
For groups of flowers hand hold
as you focus into different depths to select your subject. Then place
the camera on the tripod.
Selective Focus examples:
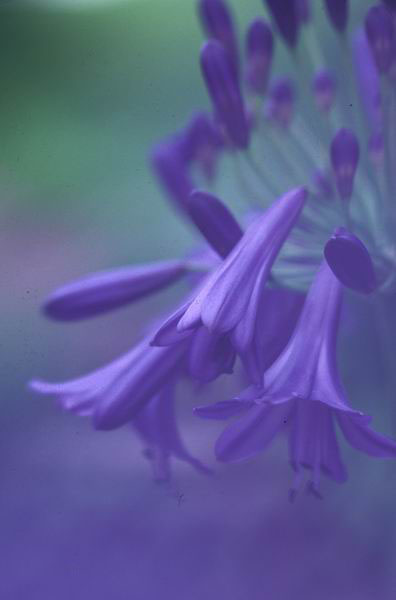
#12- Agapanthus
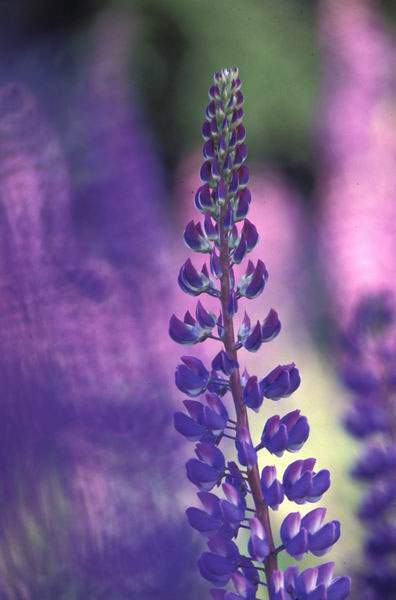
#13- Lupine- There was a breeze as I took this picture which added to
the
soft,blurred effect.
These Photo Impressionism techniques are creative and fun to try. Even though you'll be discarding some of the images you'll be surprised and thrilled by others that you create.
Macro Photography:
The terms macro or micro apply tosingle lens reflex cameras and 35mm
film.
It refers to the size of the subject and the size of it's image on the
film. A 35mm slide measures 1x1 1/2 inches. At 1X the size of the subject
and of the imagewill be the same, or life size. At 2X the image will
be twice life size, and at 1/10 X it will be 1/10 life size and so forth.
Macro lenses focus closer than their focal length. They are referred
to as flat field lenses and produce images that are sharp right to the
edges of the film. A regular lens in the 80mm to 300mm focal length
with a multi- element diopter, also called closeup lens, can be used
in place of a macro lens.
These focal lengths and longer are normally used for nature photography.
Nikon and Canon make the multi-element diopters in 52 and 62mm sizes.
John Shaw states that the Nikon 3T (1.5 power) is the most useful size.
The diopter should be placed as close to the lens as possible, and therefore
filters should not be placed behind them. Single element diopters are
for 50mm or "normal lenses" and cause curvature at the edges
of the slide. They are not recommended for macro photography. Extension
tubes are spacers which are placed between the camera and lens. They
allow you to work closer to the subject. A sturdy tripod and ball head
are essential. Use of a cable release or setting the camera's timer
for a few seconds lessens camera shake.
Composition rules are similar to those for landscape photography. See
"Focus On Flowers" on this website. Study the composition
carefully. Place the subject using the rule of thirds. Using a longer
lens creates a narrower field of view and helps to eliminate distracting
elements from the background. And don't forget
YOUR SUBJECT IS LIGHT, LIGHT IS EVERYTHING! Early morning and late afternoon
light is softer and warmer.
Note: The following images were photographed at The New York
Botanical Garden:
#2,3,4,5,9,10,11 & 12
Photo Impressionism Books:
"Photo Impressionism and The Subjective Image" by Freeman
Patterson
and Andre Gallant- Key Porter Books
"Photographing Creative Landscapes" by Michael Orton - Amherst
Media