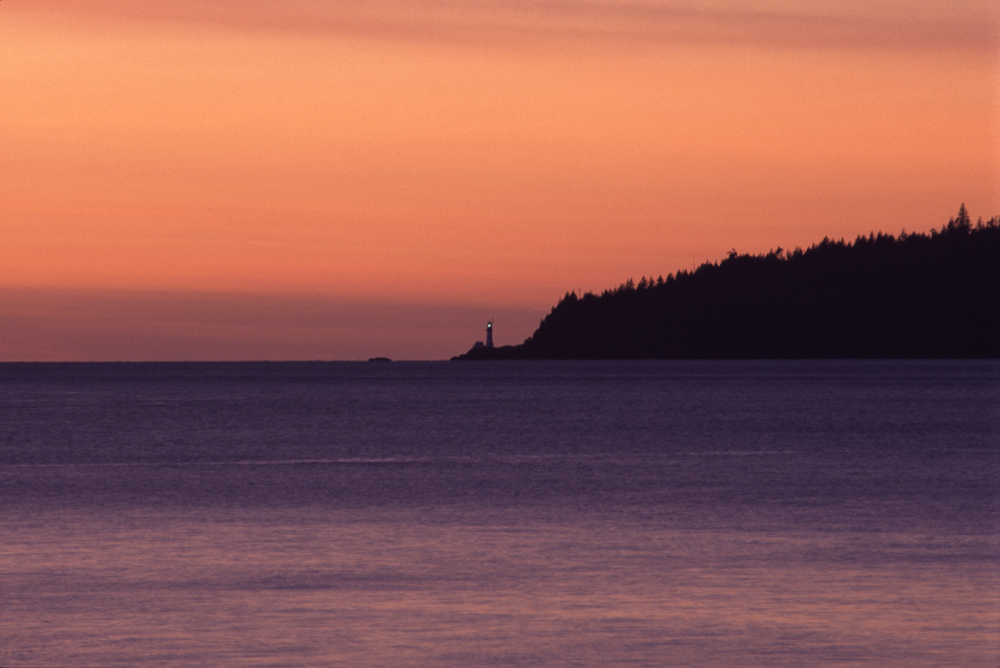
Rivers
to the Sea
By
Phil Maranda
“All the rivers run into the sea; yet the sea is not full.”
– Ecclesiastes
It’s been 10 years since I first ventured out my door
with the single purpose in mind of making photographs of every outdoor
subject imaginable. In that decade I’ve been truly blessed, having
made images in a multitude of locations around the world. My photographic
pursuit has taken me to Denali National Park in Alaska, The Canadian Rockies,
South East Asia, The Pacific Northwest, and the Caribbean, to name just
a few.
In nearly every location I’ve photographed, there has always been
water, from the smallest stream to the giant of them all, the Pacific
Ocean, and this element has been
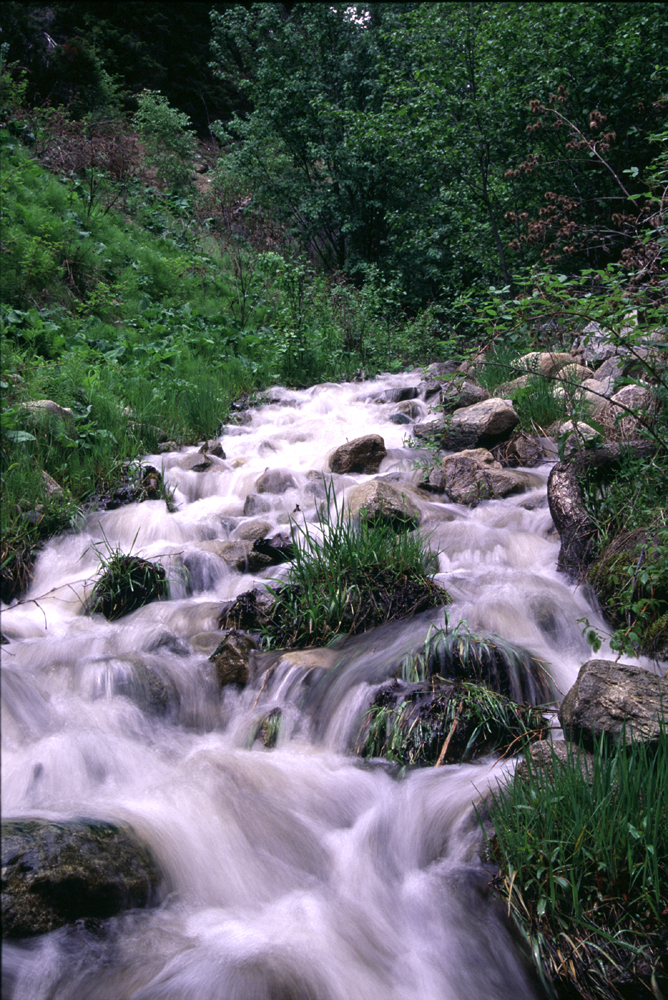
enhancing my image making since the beginning. If there was
ever any doubt in a location as to whether or not there would be something
to make an image of, I’ve always looked for the closest water source—H2O
hasn’t let me down yet.
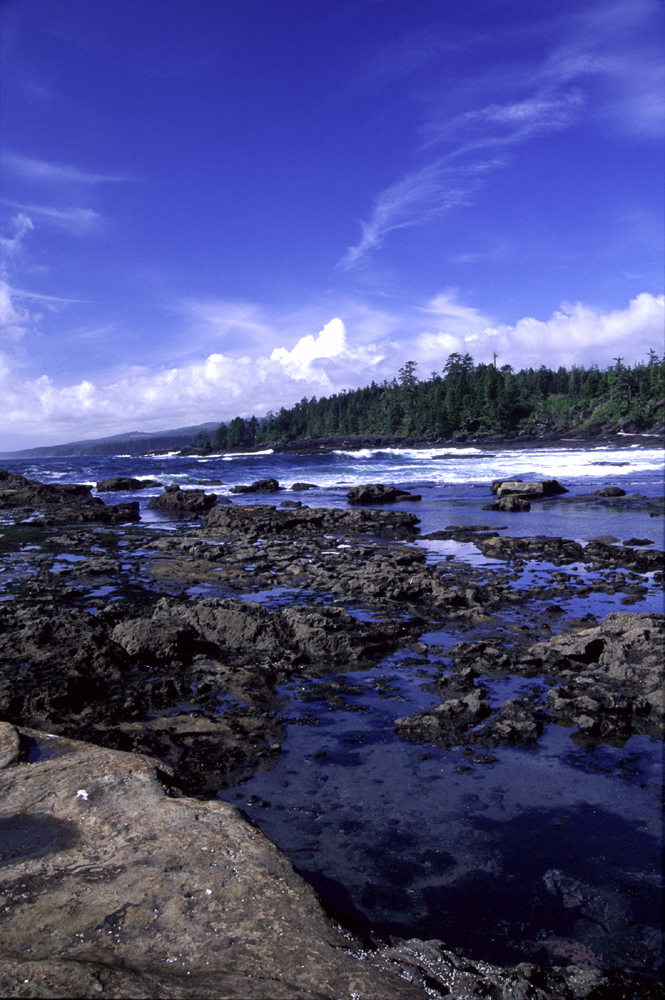
Botanical Beach is about 400 miles from my home and is one of my favorite
locations for making photographs in British Columbia. There is a wild,
untamed beauty
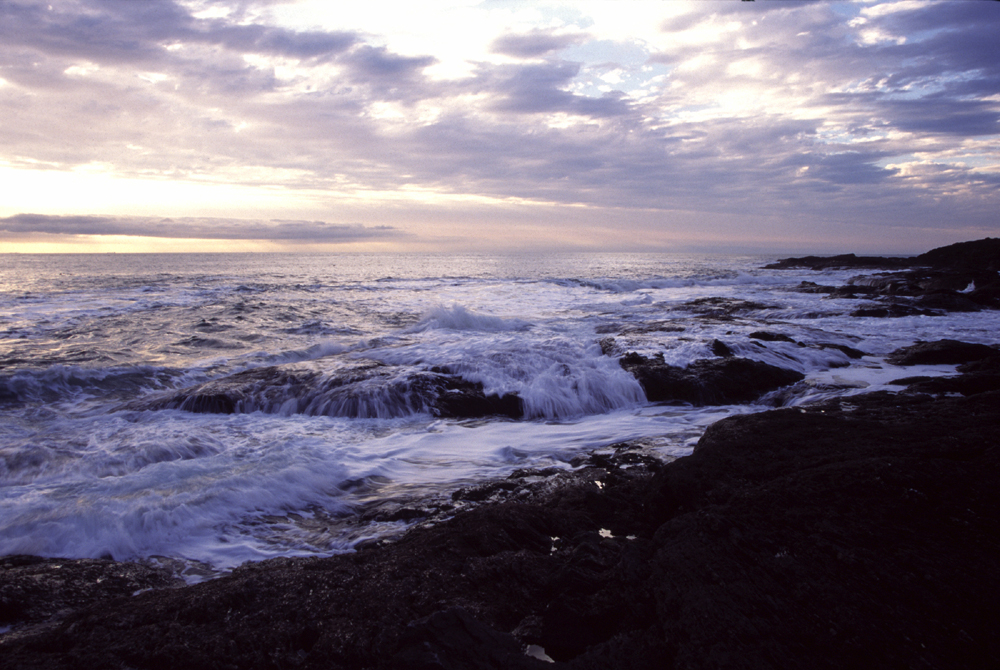
attached to the west coast of Vancouver Island, and few places
are better suited for witnessing this splendor first-hand than at Botanical
Beach. Massive storms and giant rollers from far out in the Pacific have
been pounding the windswept shoreline for millennia, helping to create
an enchanted symphony of ocean, land, and sky.
A scenic 83-mile drive from Victoria, the world-famous beach lies at the
end of the road on Highway 14 at Port Renfrew and marks the conclusion
(or beginning, depending where you start) of the Juan de Fuca Marine Trail
that stretches 30 miles along the coast to China Beach. Across an inlet,
the rugged and lengthy West Coast Trail begins, but it’s at Botanical
Beach where young and old can experience a vibrant ocean shoreline environment
without having to hike much more than a mile or two.
Photographers who visit Botanical Beach can spend their days roaming the
water’s edge making images of a plethora of tiny marine creatures
in the tide pools at low tide, hiking the forest trails, or watching the
waves while waiting for the rich pinks, oranges, and reds of a Pacific
Ocean sunset.
During the months of March and April, gray whales can be spotted offshore
while taking a break from their yearly migration from the coast of Mexico
to the waters of Alaska. Orcas also frequent the area along with Northern
and California sea lions.
The tide pools at Botanical Beach are filled with a seemingly endless
variety of life, some looking like they came from another planet with
names equally as odd. Purple sea urchins, giant green anemones, and gooseneck
barnacles can be found in large quantities, but it is the increasingly
rare, fiery red Blood Star that is a real treat to
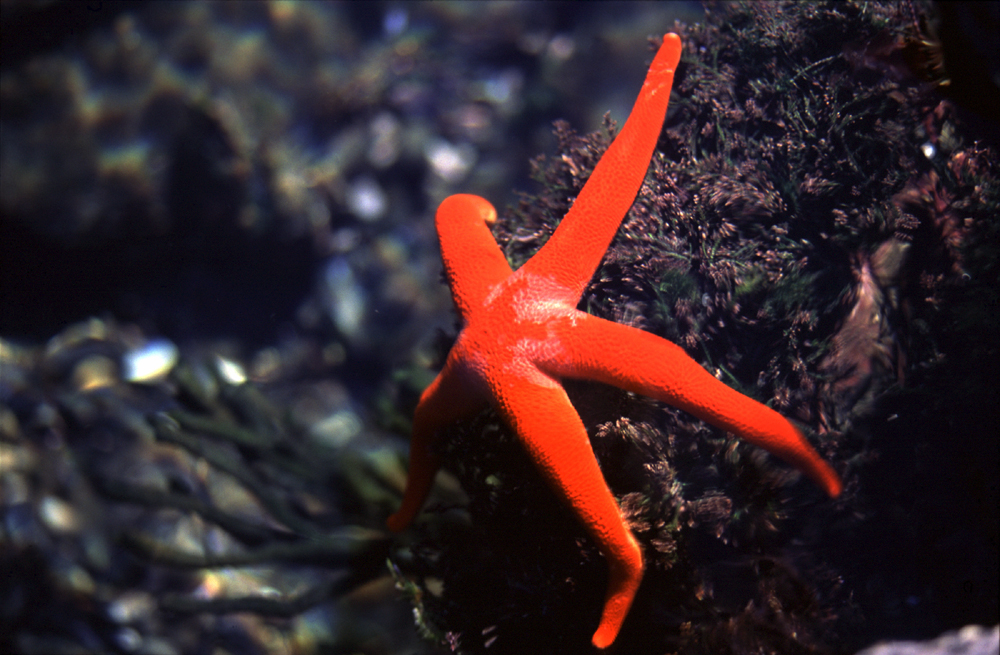
view. The Blood Star is a member of the sea star family (once
called starfish), and its brilliant color makes it a perfect photo subject.
Other lucky photo-philes may encounter a dogfish shark or octopus stranded
in one of the pools.
Plenty of critters reside along the shoreline as well (cougars included),
and it’s not entirely unusual to share the beach with a wandering
black bear or two, even in the
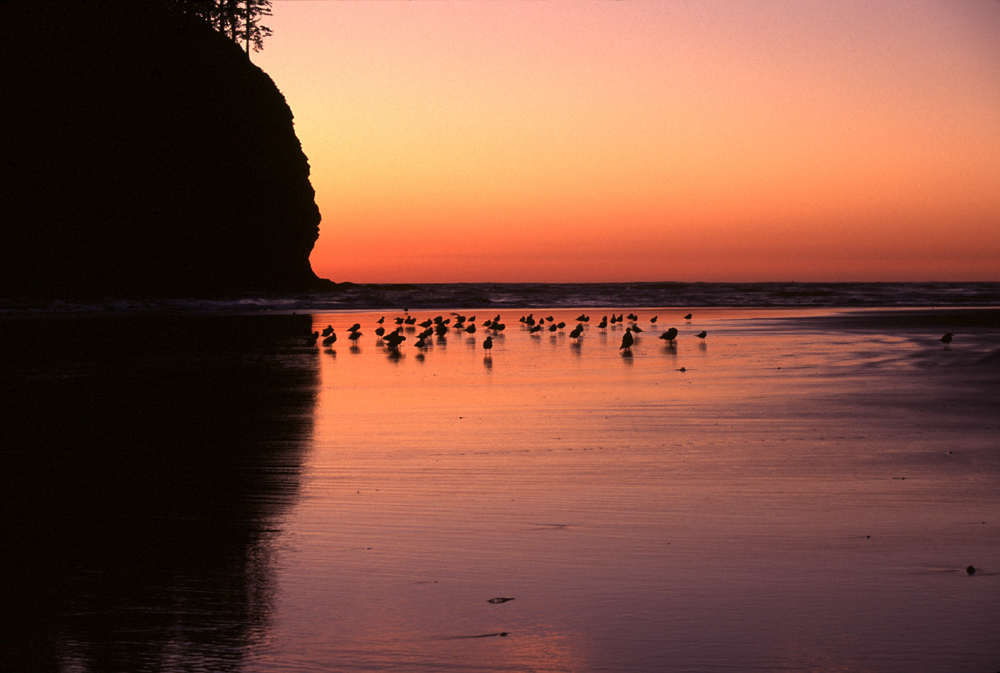
winter since island
bears don’t hibernate. On any given day, photographers can find
themselves in the company of seagulls, bald eagles, harbor seals, and
river otters as well.
During the winter months, the west coast of Vancouver Island is bombarded
with numerous, fierce storms that begin far out in the Pacific, pushing
rain and high winds towards the coast. The intruding tempests wield massive
waves that crash on the beach. If you can handle the dampness, these giant
rollers are not to be missed. Not only are there no crowds this time of
year, but hearty photographers also get a front-row seat to witness the
extreme side of nature.

Across the Straight of Juan de Fuca from Victoria, on the coast of the
Olympic Peninsula, lies one of the most visually stunning (in my opinion)
coastlines in the United States. The beaches there are truly a scenic
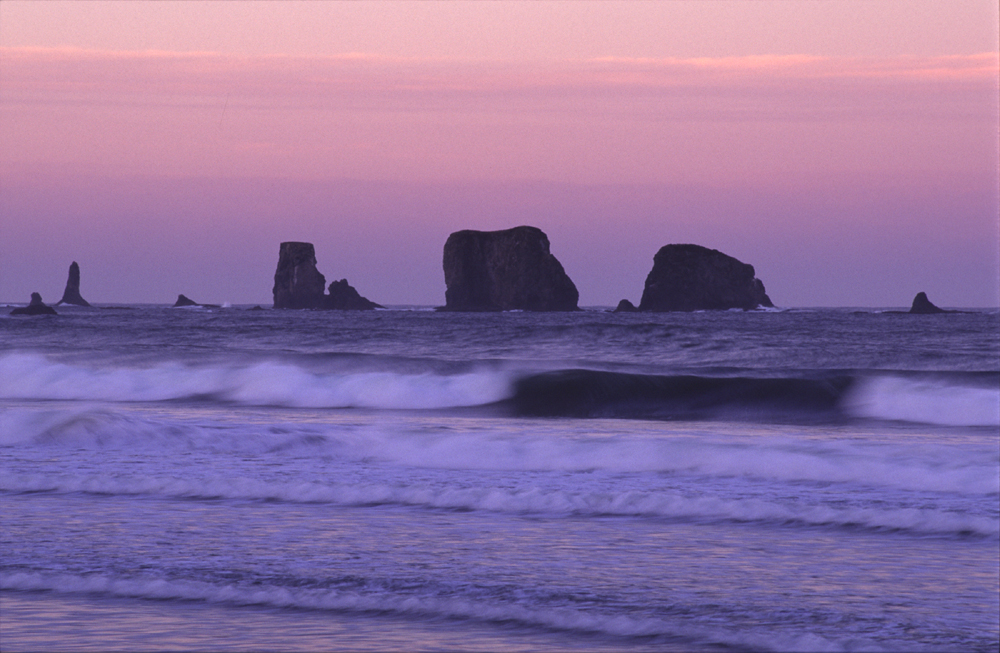
photographer’s dream. Sea stacks, carved by wind and waves for thousands
of years, stand on the sandy beaches like
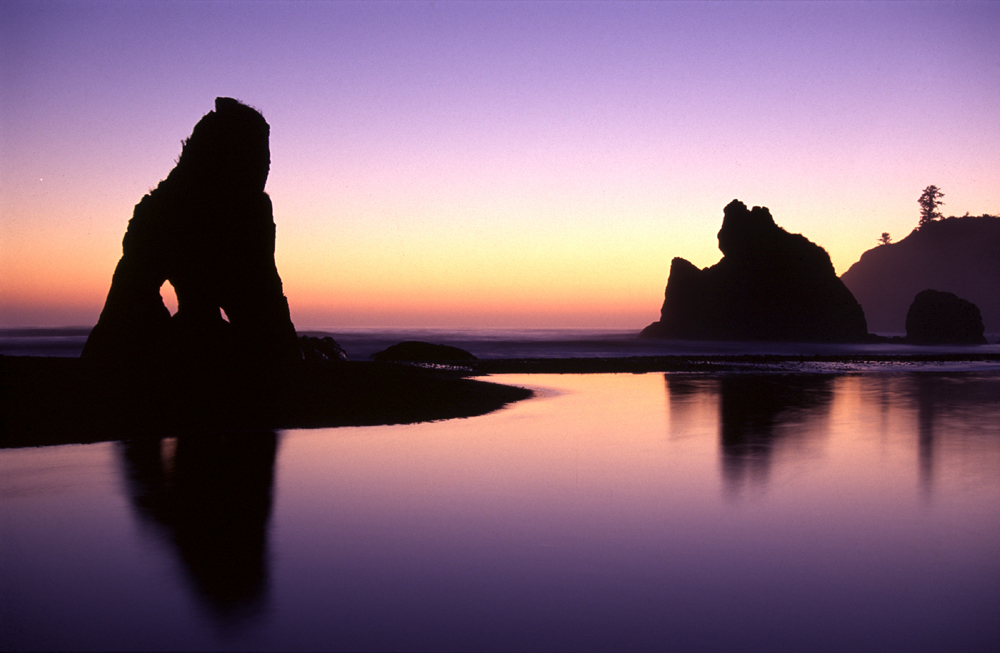
sentries guarding the shore, making great foregrounds for images
of the open ocean beyond. Pelicans, seagulls, and other sea-going fliers
glide on brisk offshore winds. And the sunsets rival that of any on Earth.
My favorite beaches include Ruby, First, Second, and Rialto, and they
can be reached approximately 150 miles from Seattle by following Interstate
5 to Olympia and then Hwy 8 and 12 sequentially until you pass the seacoast
town of Hoquiam where Hwy 101, The Pacific Coast Scenic Byway begins.
There are signs posted along 101 that announce each beach as you approach.
From Victoria, a ferry ride to Port Angeles puts you on Hwy 101. Follow
the signs towards the west coast of the peninsula.
There is no real best time of the year to make images on the beaches of
the Olympic Peninsula. Like at Botanical Beach, you’ll usually find
the biggest waves in the
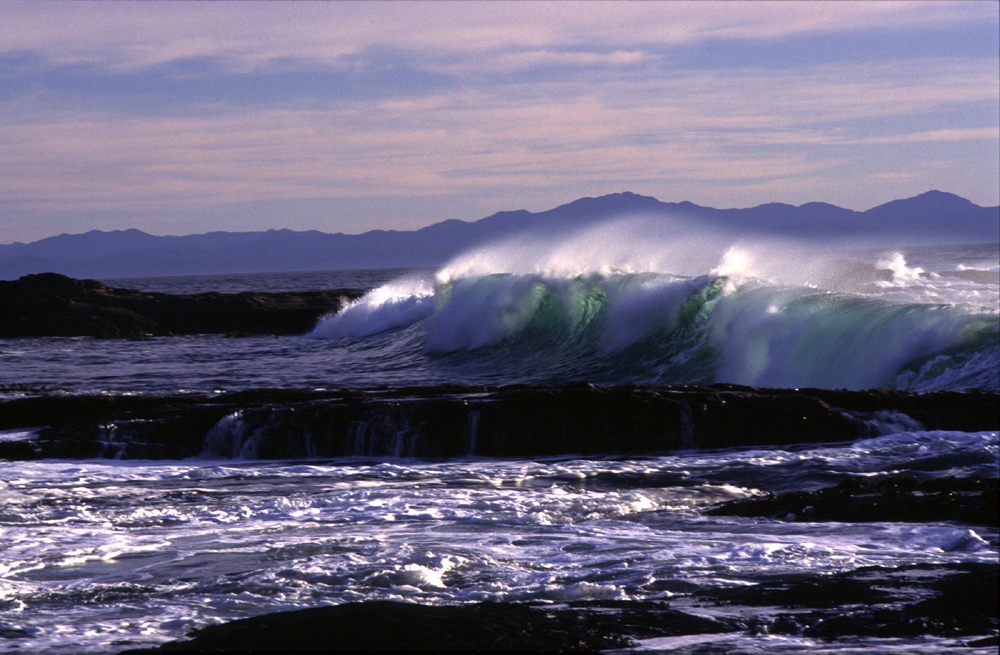
winter months, but the weather can also be at its worst—wet,
cloudy, and chilly. Dressing in warm, waterproof clothing is a must if
you want to stay out on the beach long enough to make a few good images.
In the spring, summer, and fall, the weather is clearer, and at those
times of the year, it’s easy to spend all day at the beaches, roaming
along the water’s edge, checking out tide pools during low tide,
and scoping out just the right spot to make a beautiful sunset photograph.
One of my favorite locations for making sunset images is Phuket, Thailand.
Phuket is a resort island barely off the west coast of Thailand in the
Andaman Sea. The beaches are crowded most of the time during the days,
but close to sunset, the people head for the many outside restaurants
and bars for happy hour and great seafood. It’s at this time when
photographers can find themselves alone on the beach.
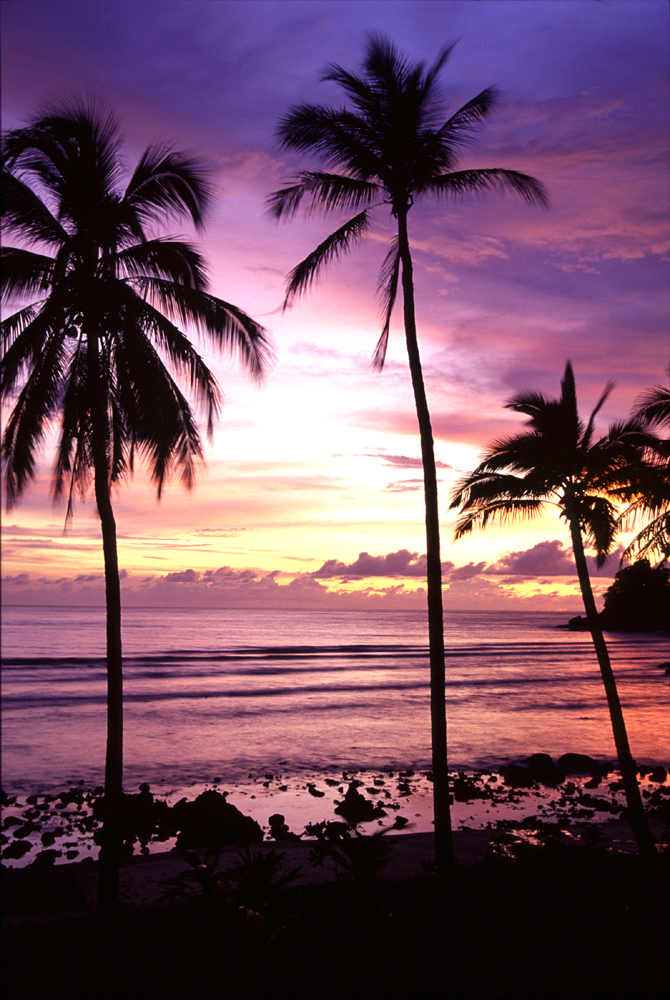
The shoreline in Phuket is a combination of sandy, palm-tree-laden beaches
and rocky outcroppings that when included in a scene can make for dynamic
foregrounds in sunset images. In the time I spent making images there,
the sunsets never let me down. Brilliant shades of yellows, oranges, reds,
blues, and purples painted the sky every night of the week in October
and allowed me to make a number of decent images.
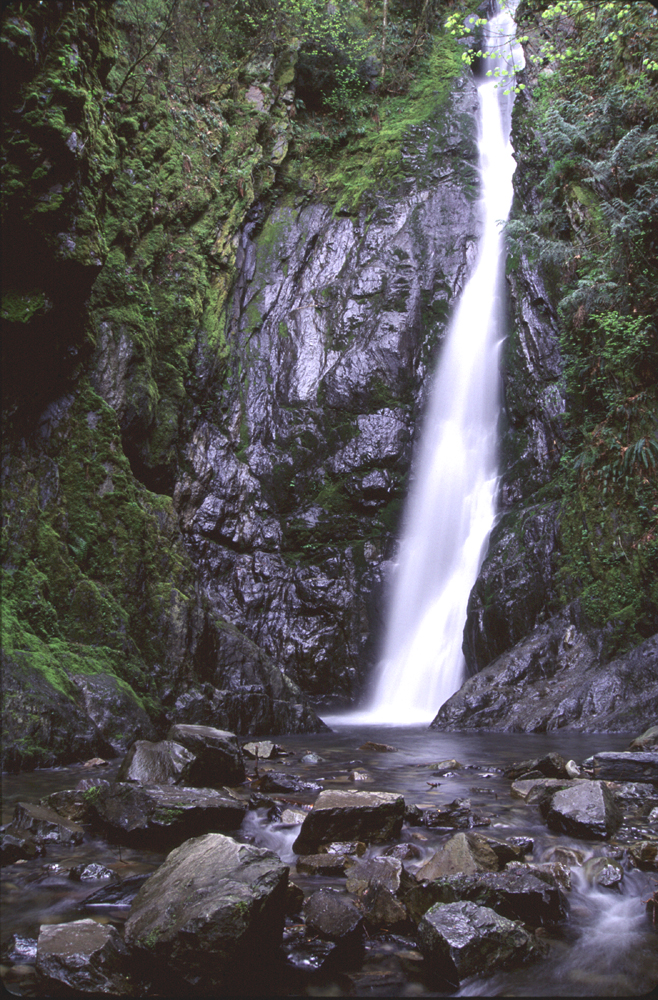
At home, I’ve made most of my best river, stream, and waterfall
images in the mountains and valleys of British Columbia from the Rockies
to the Pacific coast. In the eastern part of the province, high in the
Canadian Rocky Mountain chain, glaciers melt in the summer sun and are
the starting point for several of B.C.’s larger rivers.
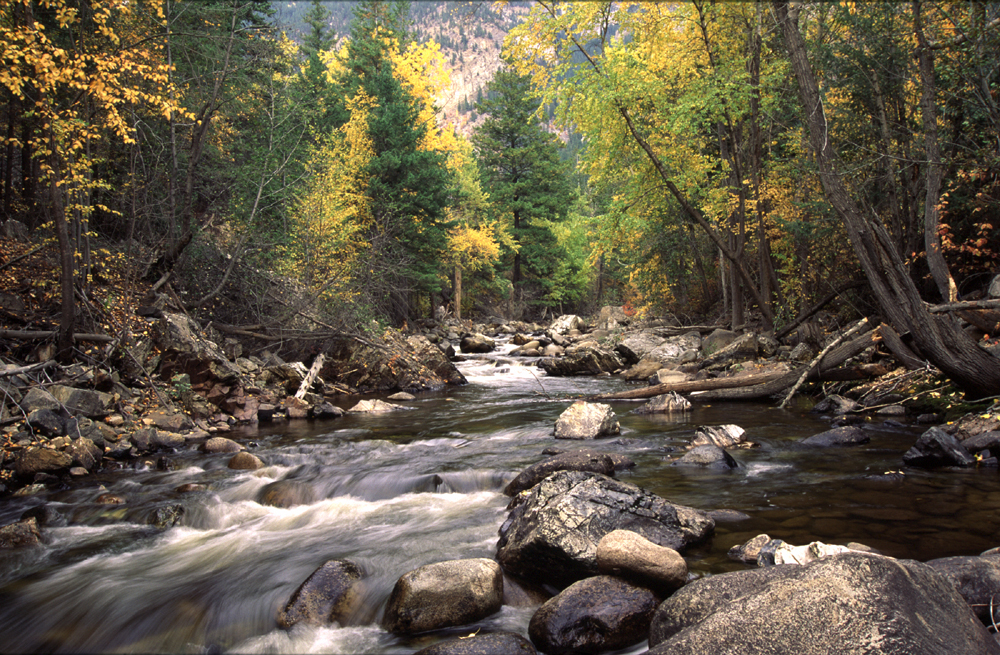
The mighty Fraser begins in the Rockies, and at its source, the river
is clearly nothing more than a small mountain stream. But as it flows
southwest on its 850-mile journey to the Pacific Ocean, dozens of tributaries
add to the volume of the river, and by the time it reaches the upper region
of the Fraser Canyon, the water has taken on the color of light clay and
the river has become intense.
Within the 23-mile section of the Fraser River, which extends from Boston
Bar to Yale, the scenery becomes breathtaking, the rapids get wild, and
the water roars like thunder through the heart of a magnificent gorge.
Between the towns of Lytton and Yale, the river is at its absolute fiercest
and drops in elevation 278 feet at over five feet per mile.
The climax of the mighty Fraser happens at Hell’s Gate where the
water is forced through the narrowest point on the river, which is a mere
104 feet across. During the
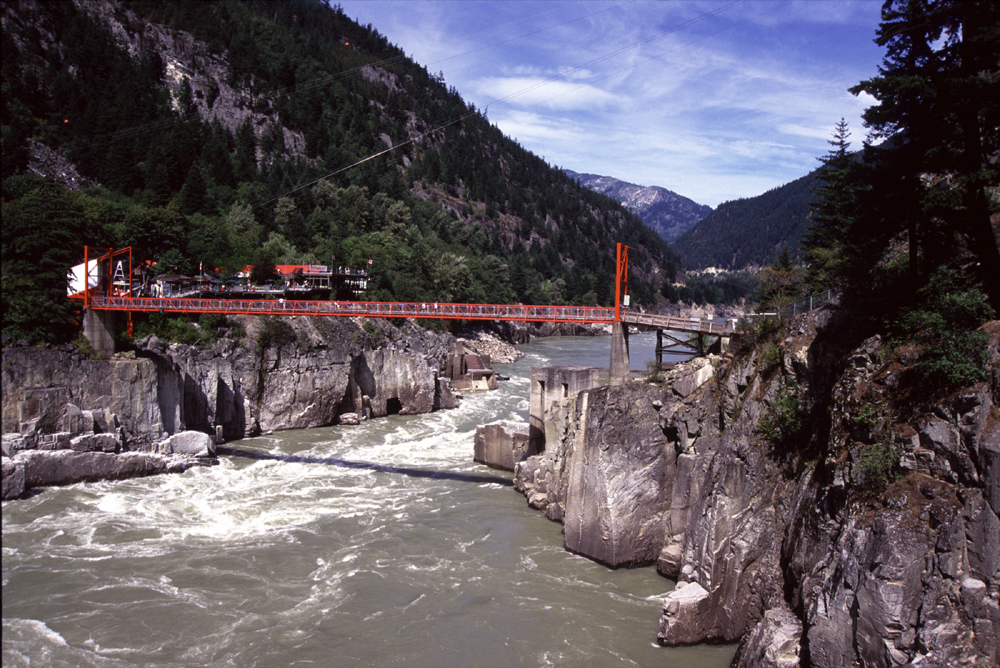
spring runoff, twice the water can scream through Hell’s Gate in one minute than what descends Niagara Falls in the same amount of time. That’s 200 million gallons of water passing through the gorge every 60 seconds, which can reach speeds of up to 20 miles an hour. All this can be witnessed and photographed from various locations along the sides of the cliffs.
Gleaning great-looking images out of a water-based subject takes a little
preparation. Always make sure that you do a little research before heading
off to whichever location you plan to visit. Knowing the environment that
you are getting yourself into is paramount in having a safe, productive
trip.
Check into the expected weather conditions for the time during your visit,
and when journeying to an ocean shoreline, for God’s sake, always
check the tide tables—getting swept out to sea can ruin your whole
trip. This can be accomplished in a number of ways from using the local
marine forecast which is usually broadcasted on VHF radio to getting a
hold of the tables from a dive shop or outdoor adventure store in the
area you plan on visiting.
Pack your equipment in as watertight camera bags or cases as possible.
Pelican cases are a good choice, and Lowe also makes a fine waterproof
bag aptly named the DryZone, which can be completely submerged in water.
Once your gear is well protected from the environment, make sure that
you allow the same courtesy for yourself. Always take wet-weather clothing
on visits to oceans and rivers, lakes and streams, and wear a good pair
of hiking boots to provide some grip on slippery rocks.
Fill your camera bag with lenses from wide-angle to telephoto. Always
carry a sturdy tripod, especially when visiting the ocean—the high
winds there demand stability. Don’t be afraid of filters especially
when the use of one can add to or salvage a scene. I use polarizers often
to blue up skies, penetrate the surface of the water in tide pools, and
generally tone down any harsh light and reflections that can be found
near the water. In a lot of cases, warming filters, neutral density filters,
and skylights can also come in handy.
To get the most out of making photographs of water, I use Fujichrome Velvia
for the rich saturated emulsion this film provides. When using a digital
camera, find the most saturated color setting the camera offers—on
my camera there are several color modes to choose from, and I usually
pick the one that is specific for landscapes and nature. In choosing film,
use the sharpest, slowest, finest grain you can find but also bring along
a couple of rolls of faster film just in case the weather goes south and
the skies grey. With a digital camera, shoot with the lowest ISO rating
the camera has available in good weather and increase the speed as the
conditions demand.
Spend as much time as possible in the location you decide to photograph,
and always look around in every direction for subjects. In many cases
there are just as many photo ops behind you as there are in front. And
don’t be afraid to get your feet wet; sometimes the middle of a
stream may be the best place to plant your tripod. After all, we’re
outdoor photographers, and getting wet and dirty can be half the fun.
Of course there are thousands of streams, rivers, lakes, and many oceans
to make images at in nearly every part of the world. All you need to do
is get out and find the ones that someday you’ll call your favorite
places to make water images.
To view more of Phil Maranda’s work, visit his website at http://www.philmarandaphoto.com
